
Review · CENTRAL PARK TOURS
NYC Central Park Night Time Photography Tour
Night photos in Central Park feel different. I like the small-group coaching and the way the guide helps both beginners and practiced shooters, like Zim keeping everyone together. One key drawback: you need your own tripod, since it is not included.
You start at Pulitzer Fountain near the south side of the park and work your way through classic night scenes, from long exposures at Bethesda Fountain to skyline views around the Dairy Visitor Center and Bethesda Terrace. With a maximum of 6 travelers and an 8:30 pm start, the pacing stays human, and you get time to actually practice instead of sprinting for the next photo.
Key things that make this night shoot worth your time
- Small group limit of 6 means you get real attention, not just background tips
- Long-exposure practice focused on Bethesda Fountain so your shutter settings have a purpose
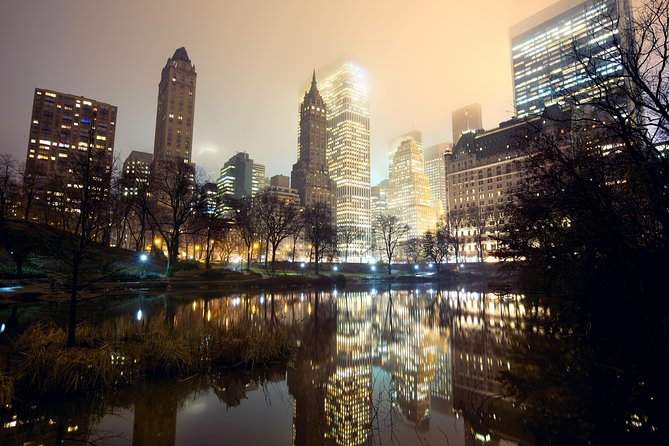
- Manhattan skyline viewpoints from Central Park spots that are easy to miss in daylight
- An end point at Bethesda Terrace, so the tour naturally finishes in a photogenic area
- A guide who works with all levels, including novice and more experienced photographers
A small-group Central Park night shoot with hands-on coaching
This is a Central Park night photography tour built for learning. You are not just walking and taking pictures. You get guidance that helps you see what matters in low light, how to frame the scene, and how to get results you can repeat later.
The small group size is a big deal. With up to 6 travelers, the guide can slow down for one person who is stuck with settings or framing, while still keeping the rest of the group moving. That matters at night, when every minute you waste makes the light harder to work with.
I also like that the tour is anchored around specific, iconic spots. The route is designed so you practice techniques on real subjects, like fountains and terraces, and then apply the same thinking as you move toward wider views of the city.
You can also read our reviews of more evening experiences in New York City

Price check: what $150 really buys you
At $150 per person for about 2 hours, it is not a budget deal. But you are paying for three things that are hard to replicate on your own at night:
- A professional photographer guide who can give quick, practical corrections
- Central Park admission included for the main park access
- A route timed to night photography, with stop-by-stop photo sessions
You also do not need to stress about finding the best viewpoint sequence yourself. The tour handles that part, and it keeps you focused on shooting instead of problem-solving.
The one cost you should plan for is the practical one: bring your own tripod. If you do not already own one, that can change the math fast. If you do have a tripod, you are in good shape.
The 8:30 pm timing and route choices that help your photos
Starting at 8:30 pm is not random. Night photography is all about transition light, when the park is dark enough for mood and city glow, but still bright enough for you to set up quickly.
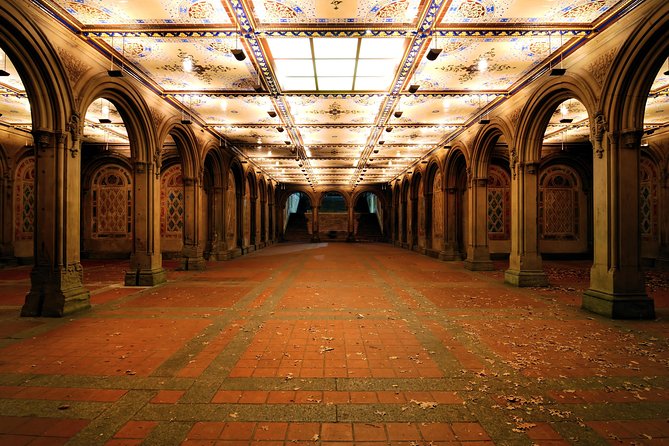
You meet at Pulitzer Fountain, 764 Central Park S, New York, NY 10019. From there, you work through the park with frequent photo stops. You end at Bethesda Terrace, New York, NY 10024, which is a strong place to finish because it gives you a grand, architectural view to close on.
The tour is offered in English, and it is near public transportation, including subway access near the Plaza Hotel. That helps if you do not want to deal with hotel pickup and drop-off, since those are not included.
What you learn: nighttime photography basics that actually show up in your shots
The promise here is simple: you learn the basics of nighttime photography from your guide, and you put it into practice immediately. That is the difference between reading camera settings online and getting the feedback that fixes your photos.
Night shooting usually comes down to a few core challenges, and this tour is structured to help with them:
Exposure and long exposures. You spend time at Bethesda Fountain specifically with long exposure photography. That is a good way to learn how shutter speed affects water texture and how city light can change the brightness of stone and greenery.
Framing in low light. At night, your eyes want to look at one thing, but your camera needs a clear composition. Stops like the Plaza and the Mall and Literary Walk give you short practice moments where you can test framing without losing the whole night.
Staying steady. You will be working in darker conditions, which often means slower shutter speeds. That is where a tripod helps a lot, and it is why the tripod requirement matters.
What I especially like is the coaching style. Zim stands out in the way she works with both new and more experienced photographers, keeping the group together while still giving individual attention when someone needs it.
Stop-by-stop: where the tour takes you after sunset
Think of this as a guided night walk with real shooting time. You will be stopping often, but the stops are not random. Each one connects to a type of photo you want to make at night.
You can also read our reviews of more photography tours in New York City
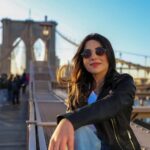
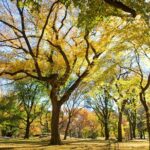
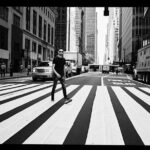
New York City Photo Safari, then you aim at the best night frames
Right after meeting at Pulitzer Fountain, you get into the photo rhythm. This part is essentially your on-ramp, where the guide helps you understand how to look at Central Park after dark and how to approach the first scenes.
It is also a chance to settle before you hit the heavier shooting moments. If you are traveling with a camera that needs settings changes, this early part helps you not feel overwhelmed later.
Bethesda Fountain for long exposure magic
You spend about 20 minutes at Bethesda Fountain. This is the flagship stop for a reason. Long exposure at a fountain teaches you how to balance motion and light, and it gives you a dramatic subject that looks great even when the park feels quiet.
Practically, you will be paying attention to your shutter choices and how to keep the composition steady. If your tripod setup is new to you, this is still a good place to learn, because the subject is clear and you can see results quickly.
The Plaza and a famous bridge pass you by
You get a short stop at The Plaza (around 5 minutes). It is quick, but that is useful in a night tour. You can try framing and angle decisions before moving on, and you do not waste precious darkness.
You also walk by one of Central Park’s most notable bridges. The exact bridge is not named in the tour notes you are given, but the important part is that it offers a classic night-photo look, especially with city glow in the background.
Dairy Visitor Center and Gift Shop, for skyline views
About 15 minutes here focuses on the Manhattan skyline view. This is one of the best reasons to do Central Park at night instead of day.
Daylight is great for plants and paths, but the skyline at night gives you contrast. You get strong light sources, sharp building shapes, and a feeling of scale that makes your photos look more like New York and less like a city park.
Bethesda Terrace for architecture shots and mood
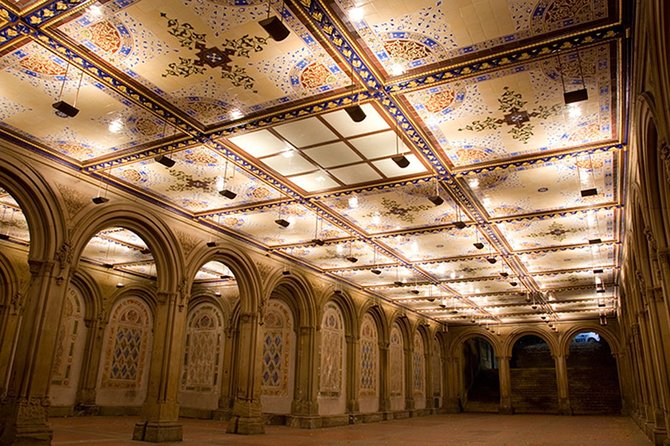
You spend around 30 minutes at Bethesda Terrace. This stop is about architecture and the way stone and details look once the park goes dark.
Terrace scenes can be tricky in low light because they are detailed. The guide’s nighttime basics help here, so you are not just guessing settings. You want to keep the image sharp where it matters, while still capturing the mood of nighttime.
The Mall and Literary Walk for classic park geometry
Next you head to The Mall and Literary Walk for about 15 minutes. These areas are good for practicing lines, symmetry, and leading pathways.
Night makes geometry more pronounced. You get clean visual lines even when the colors are muted. The short time here also keeps the pace flexible, so you can stop and adjust without turning the whole night into one long setup session.
Naumburg Bandshell for a quick photo burst
You get a 5-minute stop at Naumburg Bandshell. It is short on purpose. At night, quick targeted stops are helpful because you can test one new idea, like slight angle changes or how to place a subject against the darker background.
Even in a quick window, the structure of the tour helps you make the most of it.
Central Park final shooting time, for bigger scenes
The tour also includes time to see Central Park at night and learn how to photograph the park under low light. This is where you step back and try wider scenes, not just hero shots.
This part is valuable because it trains you to think beyond one subject. If you only learn long exposure at the fountain, you miss the bigger goal of night photography: consistent judgment about framing, exposure, and stability across different kinds of scenes.
Gear you need, and how to not fight your camera at night
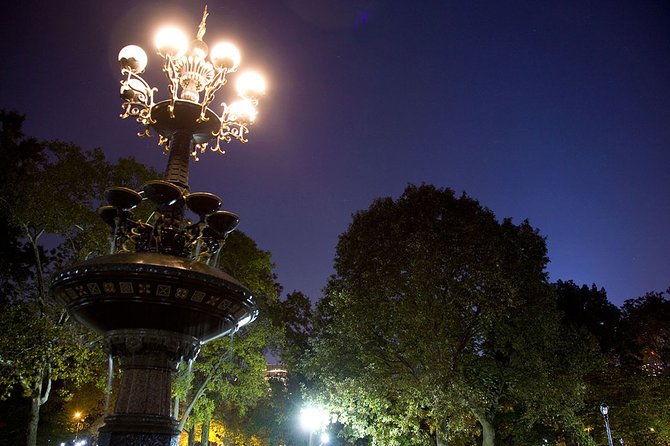
The tour does not include a tripod, and this is the one gear point that can make or break your experience. If you are planning to do long exposures, you will want to arrive ready.
Here is what you should plan based on the tour’s focus:
- Bring your own tripod for stability
- Use a camera setup you can control in low light, especially if you want sharper results
- Wear shoes that handle walking on park paths at night, since the tour is a guided walk with multiple stops
If you do not have a tripod, you can still shoot handheld, but it will limit what you can do with shutter speeds. Since the tour specifically includes long exposure sessions, having the tripod is the smart move.
Who this tour suits best
This tour fits best if you want to learn real techniques and you appreciate guided practice. It is also a good match if you want to see Central Park in a different mood than the usual daytime stroll.
It is designed for adults, with a minimum age of 18. It also lists a moderate physical fitness level, so expect walking and standing while you set up shots.
You do not need to be an expert. The guide coaching style is described as effective for both novice and experienced photographers, and that is exactly what you want if you are bringing a friend with a different camera skill level.
If you hate waiting and you want constant movement with no standing still, this might feel slower than you expect, since night photography is about setup time.
Practical tips before you go
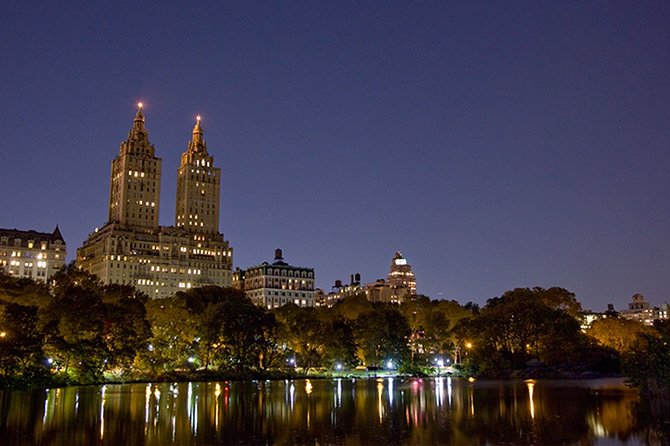
A night photography tour goes smoothly when you show up prepared. Here are a few practical moves based on how these sessions work:
- Arrive early enough to settle in before 8:30 pm, so your first shots are not rushed
- Keep your tripod easy to carry, because multiple stops mean you will set up and move again
- Think about your goal shot for each major stop: fountain motion, terrace architecture, skyline glow
- Expect the guide to help you adjust while you shoot, not after you pack up
Also, the tour runs with a small group and near public transit. That is convenient. Hotel pickup is not included, so plan your subway route or walk from nearby points.
Should you book this Central Park night photography tour?
If you want a guided way to learn night photography in Central Park, this is a strong choice. The value comes from small-group attention, hands-on nighttime basics, and specific photo stops where techniques matter, like Bethesda Fountain for long exposure and the skyline viewpoints around the Dairy Visitor Center and Bethesda Terrace.
You should seriously consider skipping it if you do not want to bring a tripod or you are expecting a purely casual stroll. This tour is about photography practice, and that means setup time and deliberate shooting.
If you are on the fence, here is a simple way to decide: if you want photos you can actually explain by settings and technique, book it. If you just want a quick night walk with a few opportunistic shots, you might find another kind of experience more your style.
FAQ
How long is the NYC Central Park night photography tour?
It runs for approximately 2 hours.
What time does the tour start?
The start time is 8:30 pm.
Where do we meet the guide?
You meet at Pulitzer Fountain, 764 Central Park S, New York, NY 10019.
Where does the tour end?
The tour ends at Bethesda Terrace, New York, NY 10024.
How much does the tour cost?
The price is $150 per person.
Is the tour offered in English?
Yes, the tour is offered in English.
What is the group size limit?
The tour has a maximum of 6 travelers.
Is a tripod included?
No. A tripod is not included, and you must bring your own.
Is Central Park admission included?
Yes. Entry or admission for Central Park is included, and the tour also lists admission as free for specific stops.
What is the cancellation policy?
Free cancellation is available. You must cancel up to 24 hours in advance for a full refund.
More Evening Experiences in New York City

More Tours in New York City



More Tour Reviews in New York City
Not for you? Here's more nearby things to do in New York City we have reviewed


More Central Park Tours to consider.
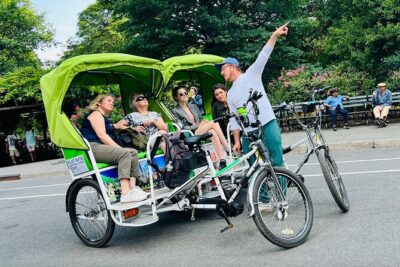 ★ 5.0Central Park Pedicab Guided ToursTickets from $387,108 traveller reviews
 ★ 5.0Private Central Park Pedicab TourTickets from $386,981 traveller reviews
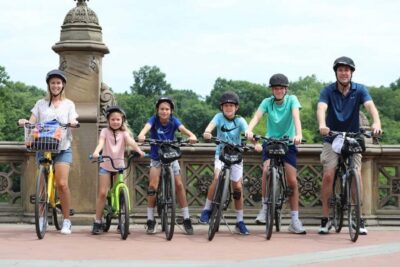 ★ 4.2Central Park Bike RentalsTickets from $92,528 traveller reviews
 ★ 5.0Official NYC Horse Carriage Rides in Central Park since 1979 ™Tickets from $992,365 traveller reviews
 ★ 4.1Central Park Bike RentalTickets from $81,651 traveller reviews
 ★ 4.9Private Central Park Pedicab TourTickets from $401,637 traveller reviews
 ★ 4.7Central Park Bike RentalTickets from $91,509 traveller reviews
 ★ 4.0Carriage Ride in Central Park (VIP – PRIVATE) Since 1964™Tickets from $141,074 traveller reviews
More useful New York routes