
Review · NEW YORK CITY TOURS
Midtown NYC Photo Safari
Midtown is a camera classroom. This 3-hour Midtown Manhattan photo safari is built for real photo learning, with a pro photographer coaching you through landmark shots and practical camera fixes. I love that it keeps things small (max 8), so you are not lost in a crowd, and I love the hands-on focus, including tips for both digital cameras and iPhone photos.
The main thing to think about is pacing and comfort. You will be walking and standing around a busy Midtown route, and the tour depends on good weather, so plan for outdoor time.
Key Takeaways Before You Go
- Small group size (max 8) means more direct coaching and less waiting your turn.
- Pro photographer instruction focuses on how to see and frame, not just where to stand.
- Landmarks plus practical skills include skyscraper icon shots and ways to handle moving subjects like a subway train.
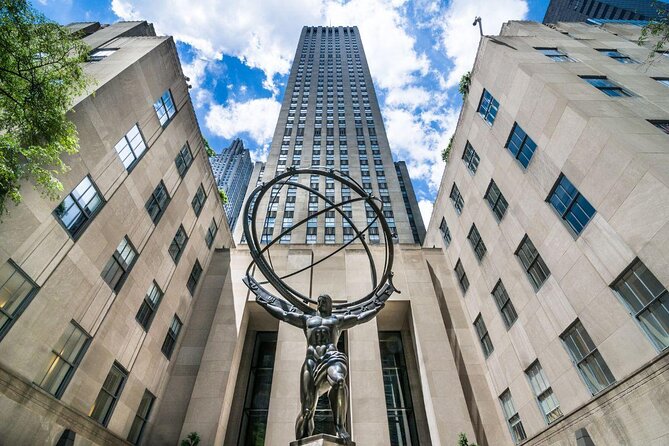
- Stop sequence through Midtown takes you from Radio City to Rockefeller Center and on to Central Park.
- iPhone and camera tips come up in the instruction, with guidance you can reuse back home.
- One-way subway fare is included, which makes the photo route easier to follow.
Midtown Manhattan in 3 Hours, With Real Photo Coaching
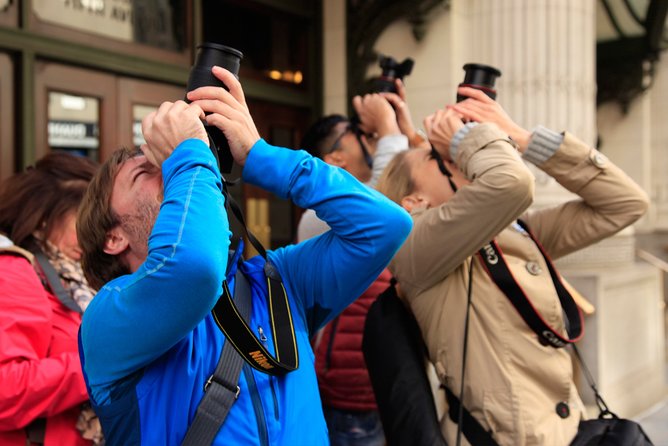
This is not a sightseeing-only walk. The payoff is that you get a photography workshop feel while still moving through familiar Midtown scenes. The guide’s job is to help you create photos you actually want to keep, with quick technique fixes you can apply on the spot.
The best part is the mix of goals. You are working on famous landmark images, but you are also practicing the stuff that usually ruins photos in NYC: messy framing, distracting angles, and motion blur when trains roll through or lights start flashing. Reviews also point to the instructor, Zim, giving clear tips for skyscraper shots and for photographing subway activity and neon-style lighting.
One more value angle: because this is a short, focused session, it helps you stop overthinking. You get to test ideas quickly, adjust fast, and build confidence before you head off on your own.
You can also read our reviews of more tours and experiences in New York City.
Meeting at 180 Madison Ave and What to Expect on the Ground
You meet at 180 Madison Ave, New York, NY 10016, and the tour ends back at the same place. It runs about 3 hours and stays in English, with a mobile ticket for easy check-in.
The route is near public transportation, which matters because it keeps your day flexible. Also, because the tour has moderate physical fitness expectations, you should plan on a steady walk and plenty of standing while you frame shots.
Here is the practical move: bring your camera gear you actually use. If you rely on your phone for most photos, bring the phone. If you use a compact camera or a DSLR, bring it. The instruction covers both digital camera use and iPhone camera use, based on what people highlighted in their feedback.
And since the tour needs good weather, keep an eye on conditions. If it looks rainy or brutally windy, your sharpest photos will come from staying realistic about what you can control.
Radio City Music Hall: Framing a Big Landmark Without Getting Lost
Your first stop is Radio City Music Hall. This is a smart opener because landmark exteriors force you to solve classic photo problems quickly: perspective, height, and getting everything you want into the frame.
Expect the guide to focus on how you compose the image so your subject reads clearly, even with Midtown distractions around you. You will also get reminders that better photos come from small changes, like adjusting your angle before you change settings.
What I like about this starting point is momentum. You begin with a recognizable scene, but you are trained to see it like a photographer, not like a tourist. By the time you move onward, you are already practicing a method: find your line, choose your view, then shoot with intent.
A consideration here is simple: Midtown sidewalks can be crowded. If you prefer wide, slow shooting time, you may feel a bit rushed while you wait for gaps in foot traffic. The coaching helps you work faster, but it is still an outdoor city environment.
Rockefeller Center: How to Turn Midtown Icons Into Photos
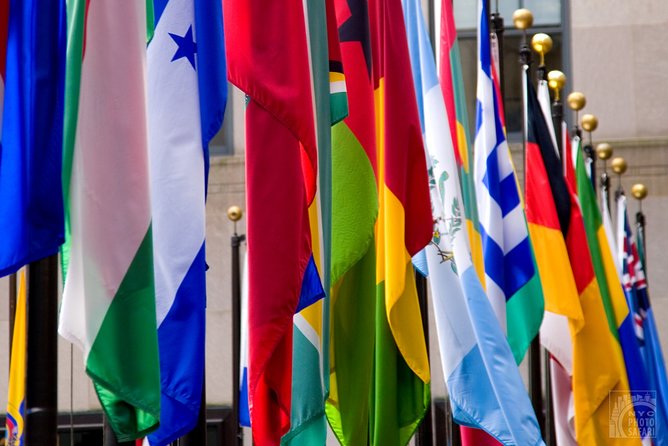
Next up is Rockefeller Center. This is where the tour shifts from getting a basic postcard shot to creating a stronger image with better structure. Rockefeller Center is an ideal place to practice “what makes the subject pop” because there are multiple visual layers and lots of repeating shapes that can either help your photo or clutter it.
From the reviews, the instructor did a standout job with tips for NYC skyscraper icons, which matters even if the exact landmark you focus on changes during the walk. The coaching is about photographing tall, recognizable city forms without letting the frame get chaotic.
This is also where moving from point-and-shoot thinking pays off. When you practice composing the shot first, you spend less time battling disappointing results later. That is the kind of habit you will keep using long after the 3 hours end.
One practical tip for you: take one test frame before you commit. Then adjust just one thing at a time. That keeps you from guessing and helps you learn faster during the workshop.
The Rockefeller Center Christmas Tree Stop: Holiday Lighting Skills You Can Reuse
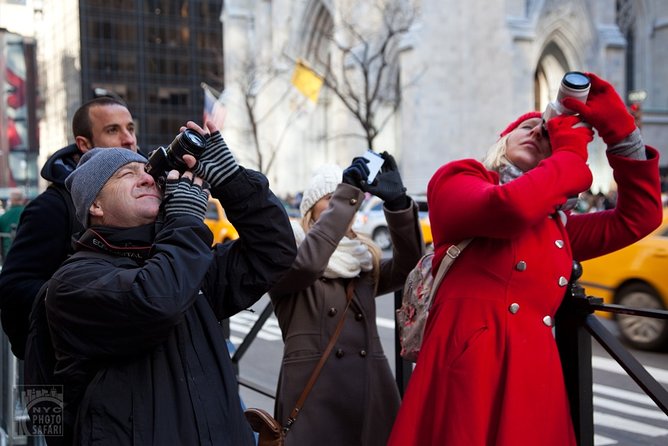
You will have a specific stop for the Rockefeller Center Christmas Tree. Even if you are visiting outside peak holiday season, this stop is still a great training ground for contrast and light. Christmas tree scenes tend to create bright points, shiny reflections, and high contrast, which are exactly the conditions where camera settings and composition choices make a visible difference.
The reviews also mention guidance related to neon-style lighting and subway activity, so the instructor’s lighting and motion thinking likely shows up here too. This is the part of the tour that can help you stop turning lights into messy streaks and start capturing them as intentional highlights.
If you are using a phone, pay attention to how your guide talks about focusing and exposure. Phones can handle night-like conditions well, but they still need you to aim and compose correctly. If you are using a camera, this stop is a chance to practice controlling how bright lights register.
Just keep expectations realistic. You are working outside, in real city lighting, and you will still depend on weather and crowd flow. But that is also what makes the stop useful. You learn what works in Midtown conditions.


Central Park After Midtown: Balance, Composition, and Scale
Your final stop is Central Park. This is a good contrast chapter in the tour, because you get a different feel from the dense Midtown blocks. The value is not just that you see another famous NYC area. It is that you can practice composition with more open visual space, different sight lines, and a break from constant building fronts.
This is also where your earlier lessons connect. If you learned to frame landmark subjects without clutter, you can reuse that habit here. The same “compose first” mindset helps you avoid the trap of capturing too wide, too generic, or too busy.
From what people liked most, the coaching is meant to be hands-on, so you should be ready to take feedback and revise quickly. Reviews mentioned picture reviews as you clicked, plus patient, friendly advice. That matters in a final stop because it is when you want confidence that you can execute the shot you pictured in your head.
Wear shoes you are happy standing in. Central Park can feel like a breather, but the day is still a walking photo session.
The Photo Skills You’ll Actually Use: Motion, iPhone, and Better Seeing
The tour’s headline skills are clear: you learn techniques for famous landmarks and you practice capturing moving objects like a subway train. People also specifically called out tips related to photo subway activity and neon signs, which tells me the guide pays attention to what makes nighttime and transit scenes hard.
Here is how you can turn this into results on your own photos after the tour:
- Start with composition, then worry about camera settings. The guide’s focus on framing helps you plan before you shoot.
- Practice motion intentionally. Motion photos can be rewarding when you commit to the look you want, instead of accidentally capturing blur everywhere.
- Use your device you carry daily. The instruction includes both digital camera use and iPhone camera use, so you should not feel forced into gear.
Zim is named in multiple reviews for giving tips on using the camera and getting standout shots of NYC icons. People also mentioned that the advice was patient and friendly, which is huge in a learning situation. If you get stuck on one setting or one framing choice, a patient coach keeps you moving instead of shutting you down.
Small-group format helps here. With fewer people, you get more time to ask questions and refine your approach while the scene is still in front of you.
Price and Value: What $125 Buys You in Midtown
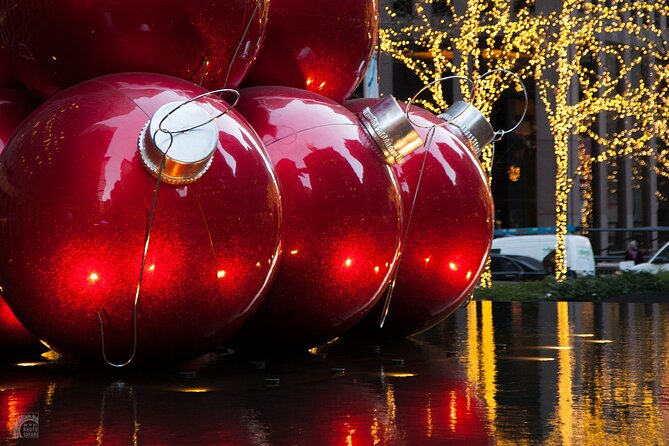
At $125 per person for about 3 hours, you are paying for instruction, not just access to landmarks. The value comes from a professional photographer instructor plus hands-on feedback, which is harder to recreate on your own when you are bouncing between photo spots.
Two details make the price feel more reasonable:
- One-way subway fare is included, so you are not doing extra budgeting for the route.
- The group caps at 8 travelers, which typically means you are more likely to get personal attention and usable feedback.
What is not included is private transportation, so this is a walking and transit-based workshop. That can be great value if you like moving with the group and you are comfortable using public transit. If you want a chauffeured day with minimal effort, this format may feel like more work than you planned.
In short, if your goal is to learn how to photograph NYC landmarks and moving scenes, the pricing matches the outcome. If you just want to collect photos with no technique coaching, you may find a different type of sightseeing tour better fits.
Who This Photo Safari Fits Best
This tour is a strong match if you want a photo-focused day and you like structured learning. It is also ideal if you feel stuck at the start of each new scene, because the guide’s job is to help you pick an approach and then refine it.
You will likely enjoy it most if:
- You shoot with either a digital camera or iPhone and want practical guidance.
- You like small-group attention and quick feedback.
- You want to photograph iconic Midtown areas while also learning how to handle moving subjects.
It is also a good choice for people who like returning home with more than a bunch of similar images. The coaching on composition and making photos interesting shows up in what people liked most.
If you hate walking around in crowded areas or you struggle with outdoor weather exposure, consider that. The tour depends on good weather and includes moderate physical activity.
Should You Book the Midtown NYC Photo Safari?
I think this is a book-worthy experience when your priority is learning, not just checking off Midtown stops. The combination of pro instruction, small group size, and the practical focus on landmark framing plus motion skills makes it a smart use of a half-day.
Book it if you want real technique you can reuse on your future NYC trips, and if you are comfortable moving between well-known places in a short time. Skip it if you want minimal walking, zero crowd friction, or a purely casual photo stroll with no coaching.
If you are the type of person who likes to improve your photos step by step, this one is built for you.
FAQ
How long is the Midtown NYC Photo Safari?
It runs for about 3 hours.
Where is the meeting point?
You meet at 180 Madison Ave, New York, NY 10016, USA.
How much does it cost?
The price is $125.00 per person.
What is included in the tour?
You get a professional photographer instructor and one way subway fare.
Which stops does the tour include?
The tour visits Radio City Music Hall, Rockefeller Center, Rockefeller Center Christmas Tree, and Central Park.
Is transportation provided?
Private transportation is not included. The tour includes one way subway fare.
How many people are in the group?
The tour has a maximum of 8 travelers.
What kind of photo instruction will I get?
You will learn how to take better photos of famous landmarks, get tips on camera use, and learn techniques for photographing moving objects like a subway train. Instruction also covers using both digital cameras and iPhone cameras.
What happens if the weather is bad?
This experience requires good weather. If it is canceled due to poor weather, you will be offered a different date or a full refund.
More Tour Reviews in New York City
Not for you? Here's more nearby things to do in New York City we have reviewed





More New York City Tours to consider.
 ★ 4.7SUMMIT One Vanderbilt TicketsTickets from $4751,195 traveller reviews
 ★ 4.7Empire State Building Tickets – Observatory & MuseumTickets from $4725,757 traveller reviews
 ★ 4.6Statue of Liberty & Ellis Island with FerryTickets from $1918,683 traveller reviews
 ★ 4.5American Museum of Natural History TicketTickets from $3715,447 traveller reviews
 ★ 5.0New York in One Day Guided Sightseeing TourTickets from $9913,166 traveller reviews
 ★ 4.6Museum of Modern Art (MoMA) Entry TicketTickets from $3012,540 traveller reviews
 ★ 4.7One World Observatory Skip-the-Line TicketTickets from $3012,329 traveller reviews
 ★ 4.7New York CityPASS®: Save up to 41% at 5 Top AttractionsTickets from $15410,548 traveller reviews