
Review · NEW YORK CITY TOURS
New York Icon Photography Tour led by a Local Photographer
Get New York photos you can actually use. This 2.5-hour New York Icon Photography Tour is led by local working photographers, so you get coaching while you see the city’s most recognizable scenes. I especially like the local photographer guidance and the max 8 travelers format, which keeps the attention on your shots instead of a slideshow.
One thing to plan for: there is no hotel pickup, and you will be moving between many classic stops in a short time. If you do not enjoy steady walking, pick the start time that feels easiest for you, and wear shoes you trust.
Key Highlights You’ll Feel Immediately
- Local, working photographers guide your camera habits, not just sightseeing
- Small group up to 8, so you can get real feedback on framing and focus
- Subway fare included, which helps you keep the pace and stay on route
- Morning or afternoon options, so you can match your comfort and lighting preferences
- Hands-on photo coaching, with instructors praised for patience and practical tips
How a “Photo Safari” Works in Real Life
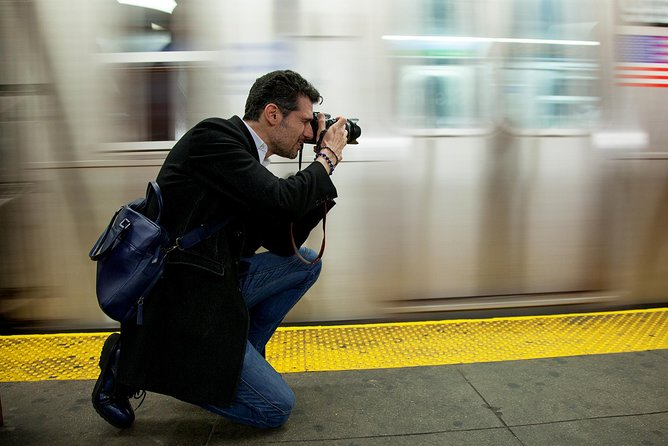
This tour is built like a workshop you can carry through the rest of your trip. Instead of walking from stop to stop with no feedback, you get focused prompts that help you rethink how you see New York, including angle, composition, and how to make iconic buildings feel less like snapshots.
The biggest advantage for me is that the guide is a photographer first. In the best reviews, instructors like Zim are described as patient and funny, but also willing to push you when your first attempts are not quite there. That mix matters because you learn faster than with a generic walking tour.
The tone also feels supportive for different skill levels. Rob, for example, is praised for guiding a group of four and leaving people with tips they could repeat later, not just show-and-tell pictures.
You can also read our reviews of more photography tours in New York City
Price and Value for 2.5 Hours in Midtown
At $125 per person for about 2 hours 30 minutes, you are paying for time with a local professional photographer plus the structure to practice what you learn. In a city where tours can be mostly narration, this one is designed around shooting, then correcting.
You also get a few built-in cost savers. The tour includes subway fare and local taxes, so you do not have to think about every transit swipe during the session.
The only recurring cost you might still have is what you bring with you. If your camera is basic or your settings are usually stuck on auto, you may spend a little extra energy learning along the way, but that is part of the value. The coaching is there to close the gap.
Meeting at 180 Madison Ave, Then Working the Route
You start at 180 Madison Ave, New York, NY 10016, and the tour ends back at that same meeting point. That is helpful for planning, because you do not have to guess how you will get back to your day.
You will also want to think ahead about transportation. The tour is near public transportation, and subway fare is included, which usually means you will travel between major areas efficiently instead of purely on foot.
Because there is no hotel pickup and drop-off, you will want to arrive a few minutes early and be ready to move. A photo tour works best when you do not have to sprint to catch up.
Rockefeller Center Through St. Patrick’s Cathedral: Start Strong, Shoot Purpose
Stop 1 is Rockefeller Center, which is a smart opener because it gives you classic New York shapes right away. This is where you set your “camera rules” for the day, like how you hold the framing and how you find a clean foreground.
Stop 2 is New York City Photo Safari, which is the workshop or coaching moment in the middle of the tour setup. This is where your guide can adjust to your level and help you pick a method for seeing lines, edges, and viewpoints.
Then you move to Stop 3, Radio City Music Hall. For photography, iconic facades like this are ideal for practicing how to prevent distractions. Your guide can help you simplify what you include in frame, so your photo looks intentional, not busy.
Stop 4 is St. Patrick’s Cathedral, and it’s a good chance to shift from wide shots to more detailed compositions. A cathedral exterior pushes you to think about vertical lines and how to get the structure without distortion or clutter.
Possible drawback here: early in the tour, you may still be figuring out your camera settings. If you want faster results, consider doing a quick reset before you start, like checking battery and ensuring your camera mode is ready.
Manhattan Skyline, ATLAS, and Fifth Avenue Windows: Learning to See in Layers
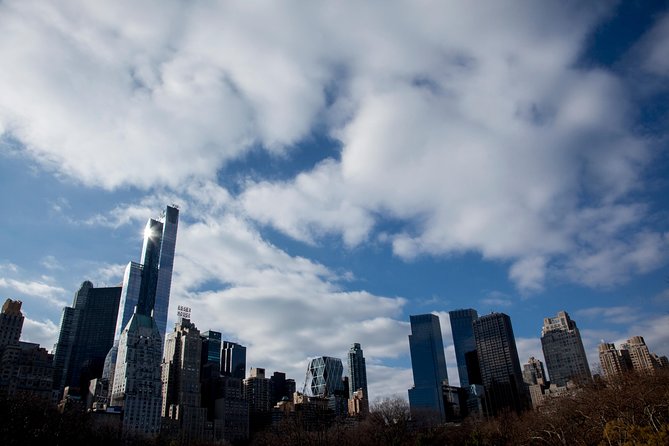
Stop 5 is Manhattan Skyline, and this is the moment to practice your timing and perspective. Skyline photos can turn into bland images if you only zoom and click, so the coaching focus matters. You’ll get prompts that encourage you to think about viewpoint, not just distance.
Stop 6 is ATLAS, and stops like this usually work well for texture and design. It is a place where you can play with how close you get, what angles you choose, and how the surrounding elements either support your subject or fight it.
Then the route hits the luxury and tech corridor with Stop 7, Saks Fifth Avenue; Stop 8, The LEGO Store; and Stop 9, Apple Fifth Avenue. These three stops are useful because they are different flavors of photo opportunity in one run:
- Saks Fifth Avenue is great for clean exterior composition and classic street photography angles.
- The LEGO Store is often the kind of place where color and playful detail can help you break out of “only buildings” mode.
- Apple Fifth Avenue is a chance to practice reflections, glass, and crisp lines, especially when you watch how light hits the storefront surfaces.
Stop 10 is Pulitzer Fountain, and this can be your reset point. It is a different visual rhythm than big buildings, and it helps you practice keeping the subject clear while still capturing context.
Stop 11 is The Plaza, which tends to reward a slower look. For photos, that means you can focus on symmetry, entrances, and how to frame “where the eye should go.”
Stop 12 is The Pierre, A Taj Hotel, New York, where your guide can steer you toward classic architecture shots. This is also a strong point to ask questions mid-tour if you feel stuck. In the best coaching described in reviews, guides like Zim give you enough time to learn the tricks, then still challenge you when you’re ready.


Grand Army Plaza to Trump Tower: Two Icons, Two Shooting Styles
Stop 13 is Grand Army Plaza, and it is a good place to practice environmental photos. You are not just capturing a sign or a landmark, you are making a picture that feels like it belongs in New York, with the surrounding context included in a controlled way.
Stop 14 is Trump Tower, and this can be a shift toward bold facade shots. If you have been leaning on wide angles, this is where you might try tighter framing to control what dominates the image.
One consideration: with so many highly recognizable landmarks back to back, it is easy to take too many “same photo” versions. The best part of having a pro guide is learning what to change each time, so you end up with variety instead of a pile of duplicates.
Central Park Zoo, Gar Pond, and Gapstow Bridge: Slow Down, Use Reflections
Stop 15 is Central Park Zoo, and this is a breather from pure skyline. A zoo setting gives you backgrounds that are not just skyscraper walls, which helps you practice composition with “life around the edges,” like people flow and natural-looking detail.
Stop 16 is Gar Pond, which is a great place to work on a calmer subject. Water scenes are excellent for practicing reflections and for learning how to keep your horizon line clean in your frame.
Stop 17 is Gapstow Bridge, and bridges are photo gold for leading lines. You can use the bridge structure to guide the viewer’s eye toward the background while still controlling foreground distractions.
Stop 18 is Top of the Rock, and this is where you switch from street-level composition to wide viewpoint thinking. Higher views reward planning your angles before you shoot, especially if you want your city photo to feel layered rather than flat.
In the reviews, people repeatedly mention that instructors help them step out of comfort zones and look at buildings with a new focus. That theme fits perfectly here. The Central Park segment is your chance to practice a different style than the Midtown rush.
MoMA to Tiffany & Co.: Modern Museum Angles and Luxury Lighting
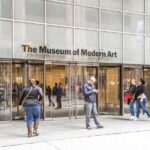
Stop 19 is MoMA. Museums are good for learning how modern architecture changes your photo. You can practice cleaner lines, careful framing, and a more “designed” composition compared with the louder streetscapes.
Stop 20 is Bergdorf Goodman. This is another location where you can test your framing skills in a retail setting. Luxury storefronts tend to create shiny surfaces and strong contrast, so your guide can help you manage highlights and choose angles that make the photo look crisp.
Stop 21 is Tiffany & Co., which is a strong finale for color, signage, and detail. It is also a good last stop because your eyes will already be tuned to searching for strong composition, not just walking up and clicking.
If you feel tired near the end, that is normal. A tour like this is part physical effort and part mental practice. The good news is the structure keeps you moving, and the coaching helps you keep improving even when you start to lose focus.
What You’ll Actually Learn (And Use on Your Own)
The tour’s real value is that you leave with repeatable habits. Reviews are heavy on this point: Zim and Rob are described as teachers who give clear, practical guidance and then coach until you get results you feel proud of.
Here are the skills this tour is set up to build:
- Framing decisions: what to include, what to leave out, and how to keep your subject readable
- Technical tweaks: your guide can help you get more out of your camera settings, and at least one review calls out help understanding Lightroom better
- Learning a method: you practice how to look at buildings and decide on a perspective instead of just shooting what you see
- Confidence through repetition: you get enough time at each stop to try, adjust, and try again
Even if you already consider yourself a photographer, this format can still sharpen your approach. One theme in the reviews is how the instructors can work with both experienced shooters and beginners, which is exactly what you want when your group skill levels do not match.
Who This New York Icon Photography Tour Fits Best
You’ll like this if you want a structured way to improve while still seeing iconic places. It is also a good fit if you travel solo or as a couple and want your experience to feel personal, not lost in a big crowd.
I also think it works well for:
- visitors who know New York from photos, but want a better way to see it in real life
- people who enjoy walking and taking pictures, and do not mind a moderate pace
- anyone who wants coaching that continues beyond the tour, so you can recreate shots later in the city
If you only want a relaxed stroll with minimal instruction, this might feel too hands-on. And if you cannot do steady walking, plan around the tour’s moderate physical fitness note and choose comfortable footwear.
Should You Book This Photo Safari?
Yes, if your priority is better photos, not just checking off famous names. The combination of a local working photographer, max 8 small-group attention, and built-in subway costs makes the $125 price feel more like a skill lesson than a basic tour.
I’d especially book it if you want to learn from a guide style that is described as patient, funny, and willing to challenge you just enough to improve. If your camera skills feel stuck at auto mode, you’ll likely come away with clearer habits. If you already shoot often, you can still use the prompt-based approach to find fresh angles around familiar landmarks.
If you hate moving quickly, or you need hotel pickup, consider this a “meet at Madison and move with the group” experience. Once you accept that format, it is one of the smarter ways to turn NYC icons into photos you will keep.
FAQ
How long is the New York Icon Photography Tour?
It runs for about 2 hours 30 minutes.
How much does the tour cost?
The price is $125.00 per person.
How many people are in the group?
The tour has a maximum of 8 travelers.
Where does the tour start?
The meeting point is 180 Madison Ave, New York, NY 10016, USA.
What language is the tour offered in?
The tour is offered in English.
What is included in the price?
The tour includes a professional local photographer guide, subway fare, and local taxes.
Is hotel pickup or drop-off included?
No, hotel pickup and drop-off are not included.
Can I choose a morning or afternoon tour?
Yes, there is a choice of morning or afternoon tour to suit your schedule.
Are service animals allowed?
Yes, service animals are allowed.
Is there free cancellation?
Yes. You can cancel for a full refund up to 24 hours before the experience’s start time.
More Photography Tours in New York City

More Tours in New York City

More Tour Reviews in New York City
Not for you? Here's more nearby things to do in New York City we have reviewed




More New York City Tours to consider.
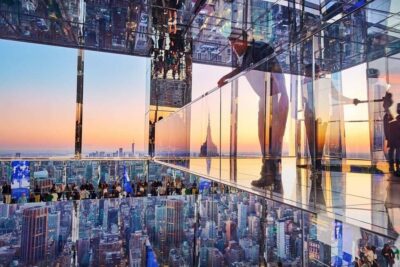 ★ 4.7SUMMIT One Vanderbilt TicketsTickets from $4751,195 traveller reviews
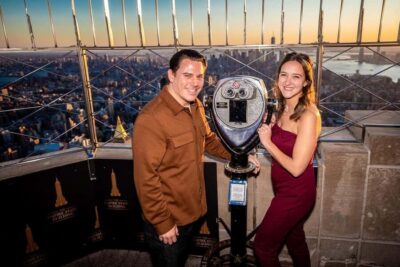 ★ 4.7Empire State Building Tickets – Observatory & MuseumTickets from $4725,757 traveller reviews
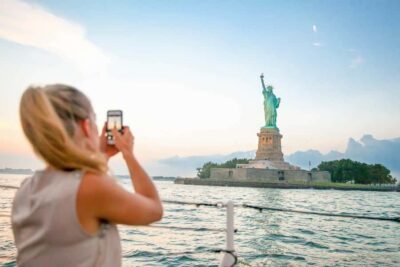 ★ 4.6Statue of Liberty & Ellis Island with FerryTickets from $1918,683 traveller reviews
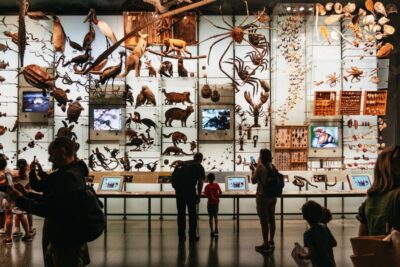 ★ 4.5American Museum of Natural History TicketTickets from $3715,447 traveller reviews
 ★ 5.0New York in One Day Guided Sightseeing TourTickets from $9913,166 traveller reviews
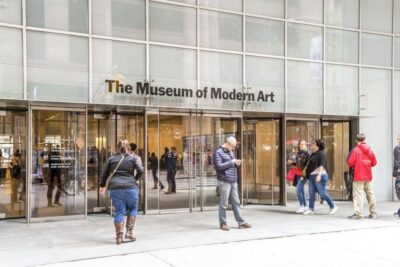 ★ 4.6Museum of Modern Art (MoMA) Entry TicketTickets from $3012,540 traveller reviews
 ★ 4.7One World Observatory Skip-the-Line TicketTickets from $3012,329 traveller reviews
 ★ 4.7New York CityPASS®: Save up to 41% at 5 Top AttractionsTickets from $15410,548 traveller reviews
More useful New York routes