
Review · MANHATTAN TOURS
Manhattan Architecture Photography Tour
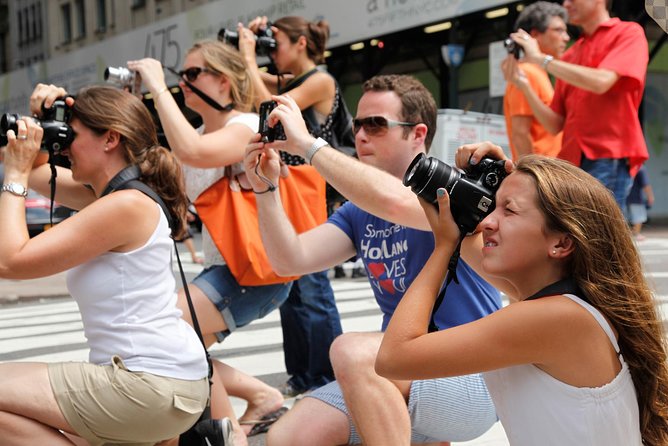
Manhattan looks better with a shooting plan. On this architecture photography tour, you get pro photographer coaching and stop-by-stop guidance so your photos look intentional, not accidental. I especially like the angle tips that help you frame big city icons, including Times Square and the New York Public Library. One thing to consider up front: the tour does not include a digital camera, so bring your own.
This is a tight, 3-hour photo walk in Manhattan with a max group size of 8. You start at Pershing Square (90 E 42nd St), use a mobile ticket, and head to multiple famous facades and interior spaces without wasting time figuring out what to shoot next. The pace is manageable, but the tour notes a moderate physical fitness level since you will be walking.
Key Things I’d Pay Attention To Before Booking
- Small group size of 8 means you can ask questions and get specific adjustments, not generic advice.
- A pro photographer guide focuses on how to make better compositions and how to use your camera abilities more effectively.
- Built-in stops at major icons like Grand Central Terminal and the New York Public Library save you from planning every shot yourself.
- Times Square instruction trains you on capturing light and motion, even if you are new to street photography.
- Admission coverage includes entry for key locations like Grand Central Terminal and the New York Public Library (plus entry listed for Bryant Park and Times Square).
- Beginner-friendly pacing with patience, including recommendations based on your skill level, so you do not feel lost.
Why This 3-Hour Manhattan Architecture Shoot Feels Different
I like tours that do two things at once: show you something worth seeing, and teach you how to see it better. This one does both. You are not just getting a photo checklist, you are getting hands-on tuition on angles, camera behavior, and how to cut the frame so your image does not feel cluttered or flat.
The value here is also the time structure. You hit a sequence of landmarks where the best shots depend on viewpoint, timing, and knowing what to include or leave out. When you try this alone, you can spend half your time walking in circles, then panic-fire a few shots that look fine but do not sing.
You can also read our reviews of more photography tours in New York City
Who this works for
This tour fits you if you want a focused architecture and city-photo session without committing to a full day. It is also a good fit if you are a beginner who wants to understand what your camera can do, or an intermediate shooter who wants a tighter framework for composition and framing.
Meeting at Pershing Square and What the Small Group Means
The start is Pershing Square at 90 E 42nd St, and the tour ends in a different location. You will meet near public transportation, which matters in Manhattan because good routes are half the battle.
The group limit is 8. That is a big deal for photography learning. In a larger group, the guide can only point at one person’s camera settings at a time. With a small group, you are more likely to get individualized feedback. It is also easier to keep the pace moving while you still have a moment to reset your focus, swap lenses, or recompose.
Mobile ticket and confirmations
You get a mobile ticket, and you receive confirmation at booking time. That is the kind of detail that reduces stress, because you can focus on showing up and shooting instead of scrambling for paperwork.
Grand Central Terminal, Shooting the Grandest Interior Without Getting Lost
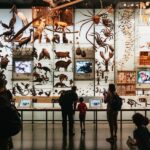
Stop 1 is Grand Central Terminal. You get about 20 minutes there, and admission is included. This is not a quick glance-and-go stop. Grand Central is built for strong photos: vaulted ceilings, dramatic sight lines, and large architectural elements that reward proper framing.
What I like about having a pro guide here is that you learn how to control the “big space problem.” Giant interiors can trick you into capturing too much at once. The coaching style reported in the tour feedback is exactly what you want for this stop: eliminate boring space, tighten the composition, and make the image feel like it has intent.


What you should plan to do in your 20 minutes
You’ll want to:
- Choose one main vertical or diagonal composition and commit to it for a few shots.
- Then do a quick pass looking for a secondary detail, like a repeating pattern or a strong edge.
- Keep your shutter and focus behavior consistent while you move your viewpoint slightly, so you do not end up with a series that all look different in the wrong way.
The admission included means you can focus on craft instead of worrying about getting in.
Chrysler Building, Finding the Angles in Just 10 Minutes
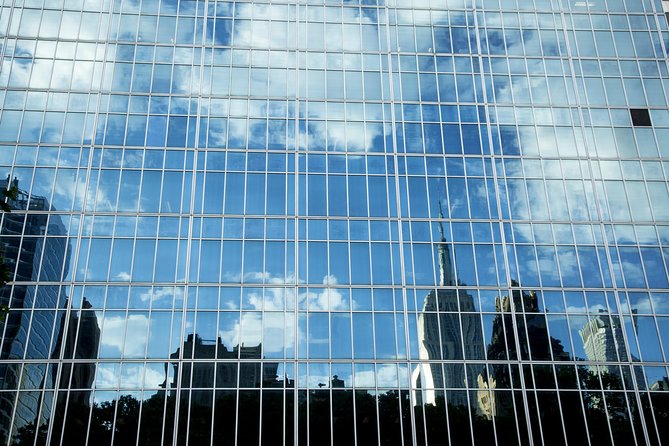
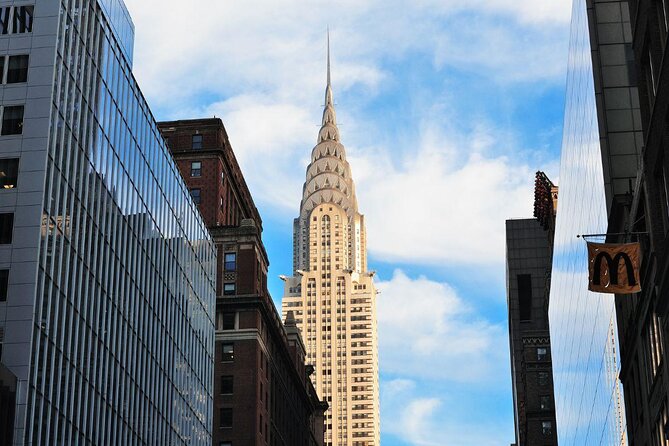
Next up is the Chrysler Building, around 10 minutes, with admission listed as free for this stop. This is a short stop, so it is not about wandering. It is about choosing viewpoints where the building’s curves and crown details read clearly.
If you have ever tried shooting the Chrysler Building without a plan, you already know the problem. From some angles it looks tall but thin. From others it is impressive but the edges get messy. With only 10 minutes, you need someone steering you toward the viewpoints that make the building feel iconic in your frame.
How to get more keepers
Even without getting technical, you can raise your success rate by:
- Holding your camera at a consistent height first, then moving your feet rather than constantly tilting up.
- Shooting a sequence where you slightly adjust left-right framing for the same building perspective.
- Looking for lines that lead your eye toward the crown.
That “angle-first” approach is exactly the style emphasized in the tour feedback.
Times Square, How to Capture Light and Motion Like You Mean It
Times Square is next, about 15 minutes. This stop is free of admission cost as listed, and the tour includes entry for Times Square in the overall inclusions. Either way, the point is the same: you are learning to photograph the lights and the hustle of the area, not just take a selfie in front of it.
This is where architecture photography turns into city photography. The challenge is contrast and complexity. There is so much signage, glass, and brightness that beginners often end up with images that look washed out or too busy. The best help here is learning what to prioritize and how to keep the frame from collapsing into chaos.
My practical advice for this stop
You will get the most from this part if you treat it like a mini exercise:
- Pick one subject area, like a building facade with signage, a strong vertical structure, or a glowing frame.
- Then shoot a short burst while you hold the same framing, so you can compare results quickly.
- If your camera has modes that handle brightness well, use them, then focus on keeping the composition steady.
Times Square can be loud and fast-moving. With a guided group, you are more likely to get the stable positions needed to make your images look deliberate.
New York Public Library Exterior, Getting a Classic Look Right
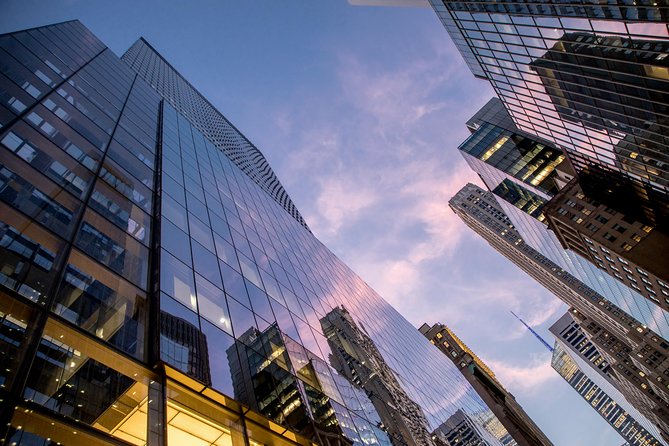
Stop 4 is the New York Public Library, about 15 minutes, and admission is included. For many people, this is the “wow” moment because the exterior architecture is instantly recognizable, and it gives you clean vertical and symmetrical compositions.
This stop is also ideal for learning because it rewards patience. The building offers strong framing opportunities from certain angles, and you can create photos that look like a magazine cover if you keep your lines straight and your subject centered.
What to watch in your shots
Aim for:
- Straight lines and controlled perspective, especially near tall columns or the edges of the facade.
- A frame that balances the architectural mass with a bit of surrounding context, but not so much that the library becomes just background.
- Detail shots, if time allows. The stonework and classic forms respond well to closer framing.
Getting admission included helps you avoid a common frustration, which is losing photo time to logistics.
Bryant Park, Chasing an Empire State Building Perspective
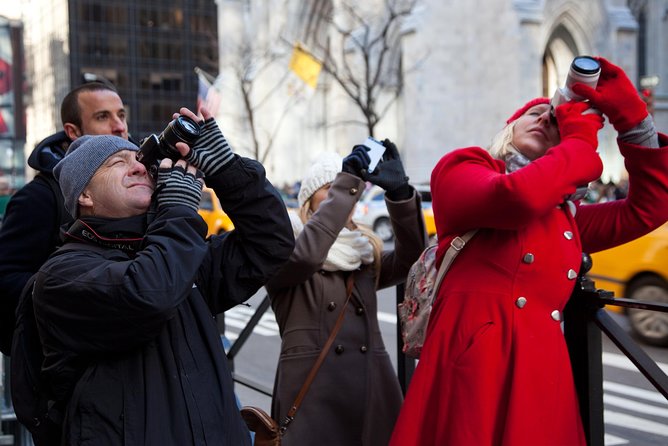
Stop 5 is Bryant Park, about 15 minutes. The itinerary lists it as free for admission, and the inclusions also list entry/admission for Bryant Park. Either way, you are covering it as a photo opportunity, not just a rest break.
Bryant Park is where photography becomes practical. It gives you a calmer setting compared with the nearby chaos, and it provides useful sight lines for featuring the Empire State Building from a more layered perspective.
Why this stop matters
If you only shoot big landmarks head-on, your gallery can end up looking repetitive. Bryant Park helps you vary the “architecture story” you are telling. You can capture reflections, depth created by foreground elements, and a cleaner composition that still includes the skyline.
The guided nature of the tour matters here too. If you arrive without knowing where to stand, you can miss the angle that makes the whole shot work.
Pershing Square Signature Center, A Theater Complex Stop Off Broadway
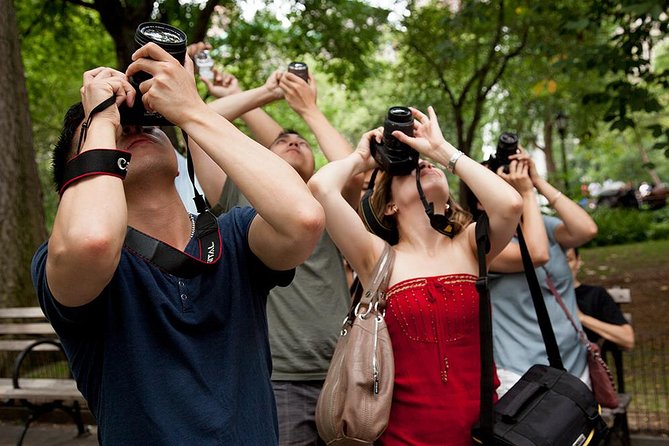
In addition to the main landmarks, the tour route includes a stop at the Pershing Square Signature Center, described as a complex of three theaters just off Broadway. This part adds variety. You are not only shooting the tallest, most famous icons. You are also seeing a different side of Manhattan architecture, the kind that supports arts and street life in a more compact footprint.
You might find this especially useful if you like your photos to show layers of the city, not just the headline buildings.
Price and Value: Is $125 Worth It for 3 Hours?
At $125 per person for about 3 hours, you are paying roughly in the ballpark of $40 per hour. That sounds like a lot until you break down what’s actually happening.
Here’s what you are buying:
- A professional photographer guide who teaches and adjusts for your skill level.
- Stop time in Manhattan’s busiest photo zones where knowing where to stand saves real time.
- Admission coverage at major locations like Grand Central Terminal and the New York Public Library, plus entry listed for Bryant Park and Times Square.
If you were to do this on your own, you could spend hours researching viewpoints, then still miss the best angles for your specific camera and the way you want to compose. Paying for a guide is paying for efficiency and instruction, not just access.
It is also capped at 8 people, so you are less likely to get a “follow the leader” experience. That small-group factor is part of why the value works.
The Learning Part: What You’ll Actually Improve
Based on the tone of the tour feedback, the most praised teaching moments are not vague inspiration. They are practical fixes and camera-use awareness.
You can expect the guide to help with things like:
- Understanding how to use your camera abilities more effectively.
- Recommendations tailored to your interests and skill level.
- Angle and composition coaching that reduces boring space and makes photos look more intentional.
A beginner often thinks the solution is buying a better camera. This kind of tour trains you to get more from what you already own.
What to Bring (Since a Digital Camera Is Not Included)
The tour does not include a digital camera. So bring your own camera or phone, and plan for:
- Extra battery capacity, because Manhattan shooting can be longer than expected when you find a good viewpoint.
- A strap or secure bag, since you will be moving between multiple stops.
- Comfort items for walking, since the tour notes moderate physical fitness.
If you are using a phone, you can still benefit from composition and light guidance. The stops are iconic, and the teaching is about how to see and frame, not only about settings.
Weather and When to Plan Your Shoot
The tour requires good weather. If conditions are poor, you will be offered a different date or a full refund. Since architecture photography depends on visibility and stable light, checking the forecast before you commit time to the day is smart.
If your schedule is flexible, pick the day when the weather looks most reliable, not just the day when you are free.
Should You Book This Manhattan Architecture Photography Tour?
Book it if you want a focused 3-hour session with a pro guide, and you like the idea of shooting a curated set of Manhattan icons instead of planning one landmark at a time. The price makes sense when you factor in admission coverage for key spots and the fact that the coaching is tailored, patient, and built around making your images better, not just collecting photos.
Consider skipping or adjusting expectations if you are hoping for a photography workshop that includes technical gear guidance or if you are traveling without a camera. Also, plan for walking and a moderate pace since the experience is designed as a photo walk through central Manhattan.
If you want photos that feel planned, guided, and stronger than your usual point-and-shoot routine, this is a solid choice.
More Photography Tours in New York City
More Tours in New York City

More Tour Reviews in New York City
Not for you? Here's more nearby things to do in New York City we have reviewed





More Manhattan Tours to consider.
 ★ 4.7Manhattan Helicopter TourTickets from $2997,076 traveller reviews
 ★ 4.8Manhattan Sightseeing Helicopter TourTickets from $2995,826 traveller reviews
 ★ 3.0JFK to Manhattan: One Way Shared Arrival TransferTickets from $313,687 traveller reviews
 ★ 4.5Circle Line: 2.5hr – Complete Manhattan Island CruiseTickets from $343,488 traveller reviews
 ★ 4.6From Manhattan: 4-Hour Dyker Heights Holiday Lights Bus TourTickets from $632,426 traveller reviews
 ★ 3.5Manhattan to JFK: One Way Shared Departure TransferTickets from $312,030 traveller reviews
 ★ 4.5The Manhattan Helicopter Tour of New YorkTickets from $2361,842 traveller reviews
 ★ 3.5Private Transfer from Manhattan to NYC Airports (JFK/EWR/LGA)Tickets from $361,683 traveller reviews
More useful New York routes