
Review · NEW YORK CITY TOURS
NYC After-Dark Photography Tour
Night lights turn into photo lessons fast.
This 4-hour NYC After-Dark Photography Tour mixes Times Square night glitz with hands-on coaching from a professional photographer guide, so you’re not just wandering with a camera. I like the fact that the route is built around real, high-impact scenes after dark, including Bryant Park and classic Times Square landmarks.
I especially appreciate two things: you get focused instruction on techniques you can actually use right away, and the group stays small (a maximum of 4 people), which makes it easier to get feedback. The tour also keeps most stops ticket-free, so you can spend your money on the guide and your time on shooting.
The main drawback to plan around is that the Empire State Building stop does not include admission, so you’ll need to budget separately if you want to go up.
Key points at a glance
- Small-group instruction (max 4 people) for more attention and faster corrections
- Long-exposure practice in Times Square to tame bright signs and moving lights
- Flash technique coaching in Bryant Park so your shots look intentional, not accidental
- Fast, focused landmark stops designed for specific shots, not aimless wandering
- Most stops are ticket-free, with one notable exception for Empire State Building
Why Times Square After Dark Feels Like a Photography Workshop
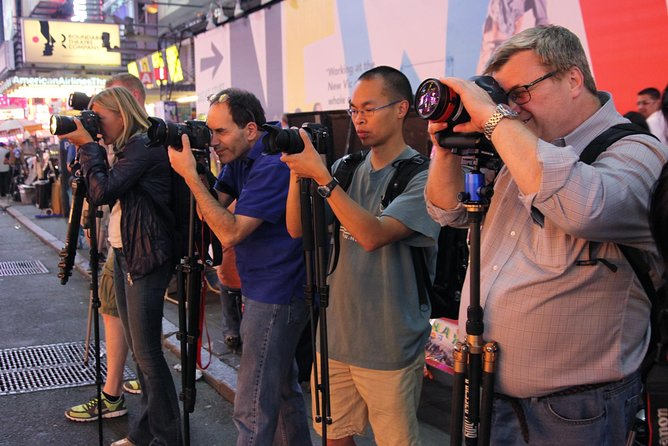
Night in New York changes what your camera sees. Instead of flat daylight detail, you get layers: bright signage, moving traffic, dark contrast, and reflections that can make even a simple composition look dramatic. That’s why this tour’s timing works. You’re learning photography in the exact lighting conditions that cause most camera confusion in the first place.
You’ll also notice the tour is built around technique, not just sightseeing. It’s not a walk where you hope your photos turn out. You spend real time learning long exposure in Times Square, then shift to another common challenge in night photography: how to use your flash without washing out faces or backgrounds.
One more practical plus: the route includes several iconic photo moments, but most of the stops don’t require paid admission. That means you can focus on what you came for, shooting, without getting pulled into ticket lines or extra costs at every stop.
You can also read our reviews of more photography tours in New York City
Price and logistics: what you’re paying for
At $150 per person for about 4 hours, you’re really paying for guidance. The tour includes a professional photographer guide and local taxes, and it keeps the group size tiny. That matters because night photography is hard to learn from a brochure. Having someone help you adjust your approach while you’re standing in the scene saves time and frustration.
What is not included is just as important. There’s no hotel pickup or drop-off, and there’s no transportation provided between stops. The meeting point and end point are both in Times Square, so you’ll need to get yourself there, and then keep yourself flexible around walking time.
One more cost note: the Empire State Building stop lists admission as not included. You can still enjoy the photo focus at that moment, but if you want access that requires entry, you’ll need to plan for that extra expense.
Finally, this experience requires good weather. If conditions are poor, the tour can be canceled and you’ll be offered another date or a full refund. Night photography can be unforgiving in rain or heavy wind, so this rule makes sense.
Meeting in Times Square: easy start, no hand-holding on transportation
The tour starts and ends at Times Square, New York, NY 10036, USA, with a Google Maps link provided. That’s straightforward, which I like. You avoid the “mystery meeting point” problem you sometimes get with city tours.
Because there’s no hotel pickup, you should plan your arrival time like you would for an evening performance. Give yourself buffer time for navigating a crowded area and locating your group. The tour also runs about 4 hours, so you should think about dinner timing and whether you want to eat before you start.
The good news is the tour is near public transportation. That makes it easier to reach without relying on expensive rides late at night.
The group cap matters here too. A maximum of 4 people keeps the walk manageable in a place like Times Square, where space can get tight. Smaller groups also tend to mean less waiting while everyone figures out their camera.
Stop 1: Times Square long-exposure photography with real city glitz
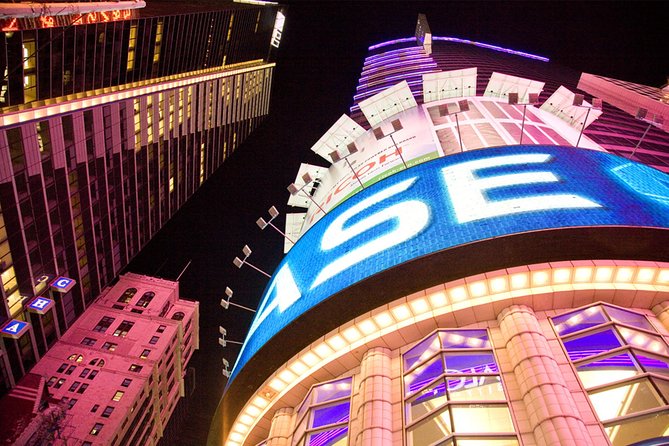
You kick off with a full 2 hours in Times Square, which is a smart move. Long exposure needs time to experiment. You’re learning how to capture the scene’s glow, signs, and light trails, not just take one “okay” shot and move on.
Times Square is one of the toughest places for night photos, which is exactly why it’s a great classroom. The brightness can be overwhelming, and movement is constant. Your guide helps you figure out how to work with that instead of fighting it. You’ll also spend time on where to set up so the framing looks deliberate.
One thing that stood out from coaching in this type of setting is tripod use. In the night photography world, tripods can be the difference between sharp light and blurry disappointment. The instruction style here includes planning out the best spots and setup moments, so you’re not improvising in the middle of the crowd.
What I like for you: you’re learning on a high-energy subject. When you can do long-exposure technique here, you’ll feel more confident applying it later in quieter parts of the city.
A consideration: Times Square can be crowded. So wear comfortable shoes and expect a bit of jostling around your setup time.
Stop 2: Bryant Park flash technique without losing your framing
Next you head to Bryant Park, with a shorter 20-minute stop. This is where the tour shifts from long exposure to a different skill: using flash at night.
Flash at night is tricky because it changes the scene. The dark background can make flash look harsh, and bright surfaces can bounce light in ways that ruin contrast. In Bryant Park, you’re surrounded by visual texture and open space, which gives you a chance to see what your flash is doing.
In a short window, the goal is not perfect art. The goal is control. You’ll learn how to use your flash so your subject looks connected to the environment rather than pasted on top.
This stop also helps in a practical way: Bryant Park is a place where you can get your bearings fast. The instruction time is long enough to experiment but short enough that you can keep your momentum through the rest of the route.
A consideration here is gear. If you’re using a camera or phone with limited flash control, you might need to adjust your expectations. The guide can help, but flash behavior varies by device.


Stop 3: US Army Recruiting Office, a Times Square landmark shot
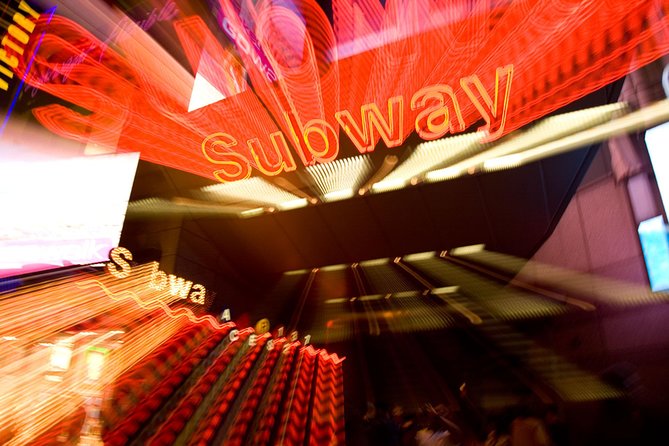
The tour then makes a quick 15-minute stop at the US Army Recruiting Office in Times Square. This kind of stop is useful because it forces you to apply techniques in a targeted way.
Instead of treating the night as one big blur, you work a specific point of interest. You practice composing around a notable location and getting something recognizable in your final images.
The time is brief, so you should come ready to shoot. If you spend five minutes just finding settings or cleaning a lens, the “lesson moment” disappears. Keep your camera ready and focus on quick adjustments.
What I like for you: these short landmark stops can make the whole tour feel productive. You’re not stuck only learning theory. You’re repeatedly translating the technique into a real photo target.
Stop 4: The View at ABC Studios, shooting the news ticker look
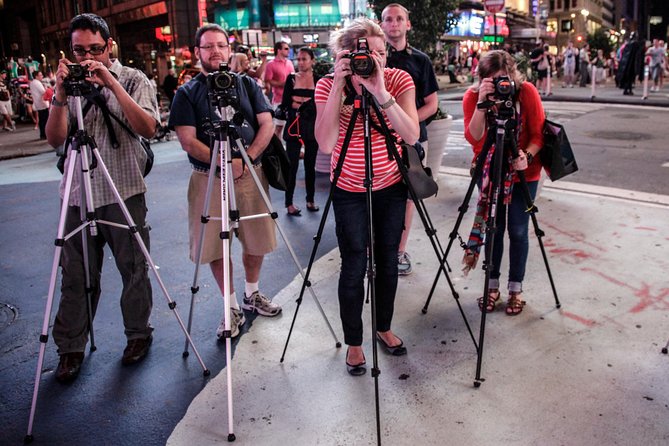
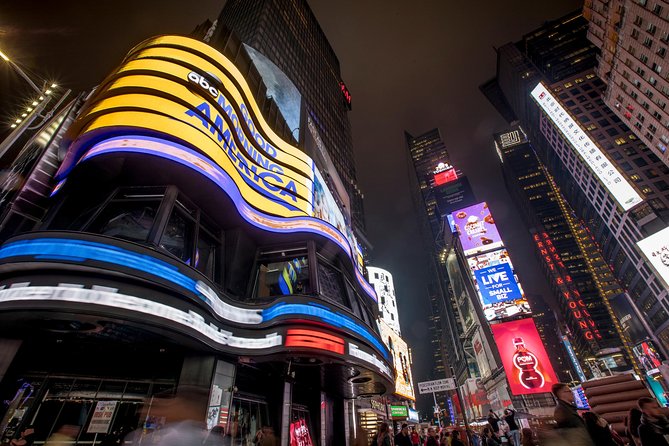
Another 15-minute stop takes you to The View at ABC Studios in Times Square, with a specific focus on photographing the ABC news ticker.
This is a great night-photography exercise because it teaches you to deal with linear elements and glowing text. Tickers create lots of detail, and detail can turn messy if your camera approach is off. The guide helps you figure out how to frame and shoot so the “signature” aspect of the scene shows up clearly.
If you like city photos that feel unmistakably New York, this is one of the most satisfying segments. Even if you’re not chasing technical awards, capturing a clean ticker shot gives you a real story in one image.
A consideration: text and screens often change in brightness. Stay patient and shoot in bursts while you wait for moments where your composition and exposure look right.
Stop 5 and 6: Theater District cross roads, then Empire State Building at night
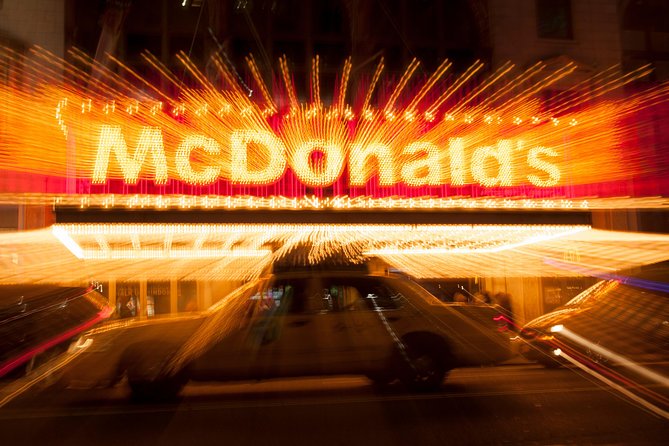
You’ll spend a 30-minute stretch in the Times Square / Theater District area, described as crossroads to the world, and in the middle of Times Square. This time matters because it gives you breathing room to experiment, not just follow stop-by-stop targets.
In a place like this, your biggest challenge is deciding what to shoot. The guide’s earlier instruction helps, because you know what technique you’re applying. You can then work on framing options, including whether you want the area around the subject to be recognizable or softly blended into the night.
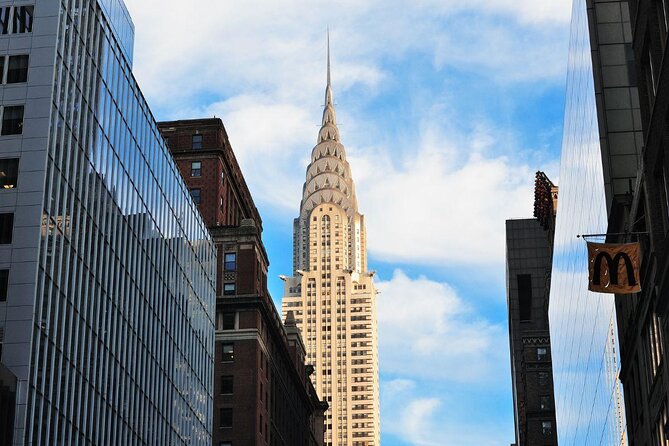
After that, the tour includes a 15-minute Empire State Building stop with an important note: admission is not included. The reason it’s still worth the time is simple. At night, the building is a strong focal point, and it can help unify a set of photos into something that feels iconic.
If you choose to add entry, treat that as a separate decision with a separate cost. The time during the tour is limited, so plan around what you want most: a quick exterior shot with technique practice, or the deeper viewpoint that may require admission.
What’s included, what’s not, and how to plan your spend
Here’s the value breakdown in plain terms:
Included:
- Professional photographer guide
- Local taxes
- Mobile ticket
Not included:
- Hotel pickup and drop-off
- Transportation to/from attractions
- Empire State Building admission
Most other stops are listed with free admission, which helps keep the tour’s overall cost from ballooning. That’s a big deal when you’re doing multiple photo locations in one night.
What this pricing structure means for you: you’re paying for expertise and time together, and you avoid a lot of add-on costs at each location. The only major extra cost is the Empire State Building admission, if you want it.
Also keep in mind the booking lead time. On average, this tour is booked about 37 days in advance. That suggests demand, so if you have a specific travel date in mind, don’t leave it too late.
Who this tour suits best (and who might not love it)
This tour is a strong match if you want night photos but you feel stuck on basics. Long exposure and flash are two of the most common “why won’t my photos look right” areas. The tour gives you a chance to learn those skills in a high-impact setting.
You’ll probably enjoy it even more if you shoot with a camera you’re still learning, or if you want help adapting technique to different equipment. The small group size also helps you feel less rushed, which matters when you’re learning on the fly.
Who might hesitate:
- If you want zero walking and zero crowd exposure, Times Square at night is not the place for that.
- If you’re only interested in paid attractions and view access, the limited stop time and the fact that Empire State Building admission is not included might feel restrictive.
- If weather is a huge uncertainty for your dates, remember the tour requires good weather.
Small group coaching: why max 4 matters more than it sounds
A maximum group size of 4 changes the experience. It reduces the waiting time while someone else tries to get started. It also makes it easier for your guide to see what your camera or phone is doing, not just what you think it’s doing.
Night photography needs fast feedback. You might change exposure, timing, or flash approach based on what you see on your screen. In a larger group, that feedback loop stretches out. Here, it stays tighter, which helps you improve during the same session, not later.
The reviews also highlighted guides like Vim and Zim as organized and focused on teaching people using different camera types. Even if you use an auto mode most of the time, you’ll get practical direction on how to approach shots and where to set up tripods.
If you want a tour that feels like hands-on instruction rather than a sightseeing walk, this small group structure is a key reason to consider it.
Should you book the NYC After-Dark Photography Tour?
If you want a night photo session that teaches you something real, book it. The mix of long exposure in Times Square and flash practice in Bryant Park covers two core skills that make a huge difference in results. The route is short enough to stay energetic but varied enough to give you multiple chances to shoot.
I’d say yes especially if you:
- Want coaching from a professional photographer guide
- Like shooting iconic NYC locations without paying admission at every stop
- Prefer a small group experience (maximum 4 people)
I’d say think twice if:
- You’re not comfortable navigating busy areas at night
- You don’t want to handle extra admission costs if you decide to go into the Empire State Building
- Your plans are tightly constrained by weather, since the tour requires good weather
Overall, this is a practical, instruction-first way to photograph NYC after dark, with the added bonus that you spend your time learning instead of guessing.
FAQ
How long is the NYC After-Dark Photography Tour?
The tour is about 4 hours.
Where does the tour start and end?
It starts and ends in Times Square, New York, NY 10036, USA.
What does the price include?
The price includes a professional photographer guide and local taxes, and you’ll receive a mobile ticket.
Are admission fees included for the stops?
Most stops list free admission, but Empire State Building admission is not included.
Do I need hotel pickup or transportation?
No. Hotel pickup and drop-off, plus transportation to and from attractions, are not included.
What group size should I expect?
The tour has a maximum of 4 travelers.
Is the tour offered in English?
Yes, it is offered in English.
Is the tour weather-dependent?
Yes. It requires good weather, and if it is canceled due to poor weather, you’ll be offered a different date or a full refund.
More Photography Tours in New York City

More Tours in New York City

More Tour Reviews in New York City
Not for you? Here's more nearby things to do in New York City we have reviewed


More New York City Tours to consider.
 ★ 4.7SUMMIT One Vanderbilt TicketsTickets from $4751,195 traveller reviews
 ★ 4.7Empire State Building Tickets – Observatory & MuseumTickets from $4725,757 traveller reviews
 ★ 4.6Statue of Liberty & Ellis Island with FerryTickets from $1918,683 traveller reviews
 ★ 4.5American Museum of Natural History TicketTickets from $3715,447 traveller reviews
 ★ 5.0New York in One Day Guided Sightseeing TourTickets from $9913,166 traveller reviews
 ★ 4.6Museum of Modern Art (MoMA) Entry TicketTickets from $3012,540 traveller reviews
 ★ 4.7One World Observatory Skip-the-Line TicketTickets from $3012,329 traveller reviews
 ★ 4.7New York CityPASS®: Save up to 41% at 5 Top AttractionsTickets from $15410,548 traveller reviews
More useful New York routes